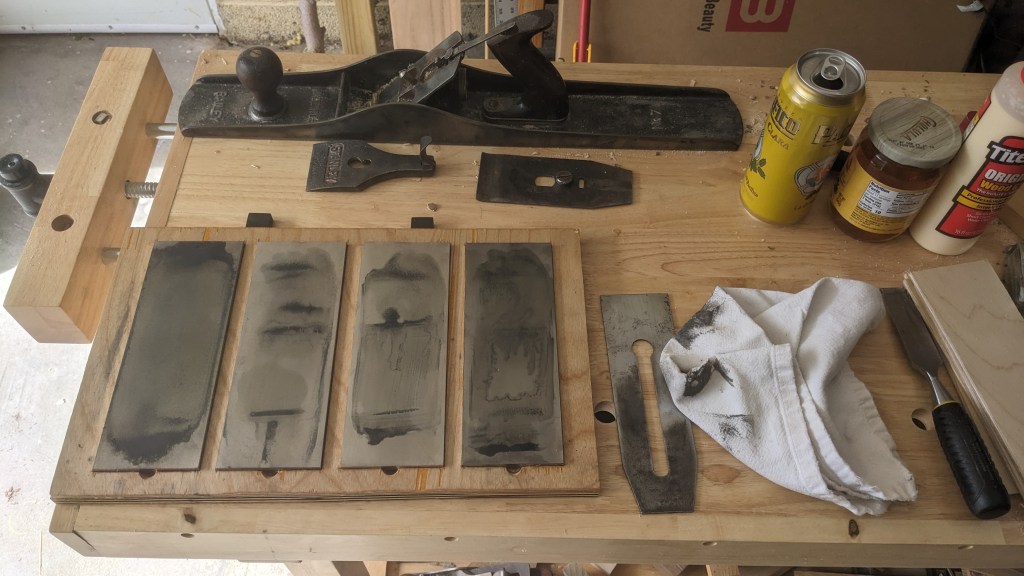
I’ve been needing to make a new sharpening block for my home shop for a while. I have four sharpening stones from UltraSharp (grits 300, 600, 1200, and 2200 respectively), and needed a block to hold all of them. While you can buy blocks for your sharpening stones, they are usually only designed to hold one stone at a time. I’ve found that the best way to secure my stones while sharpening is to use a block that can hold all four of them at once. With the single-stone blocks, you have to stop to change stones after you’ve finished with each one, which can really disrupt the sharpening process.
Sharpening methods depend a lot on personal preference, but I’ve found that diamond sharpening stones are the fastest, cleanest, and easiest to maintain compared to oil stones and sand paper (they are, however, the most expensive). Since they’re water based, all you have to do is spray them to keep them saturated, and then wipe them off when you’re finished using them. You should use a lint-free cloth, such as a rag cut from a plain white t-shirt.
I recommend using plywood for a sharpening block. You could make your block from solid wood if you want, but it will come into a lot of contact with water over the years, and plywood is more resistant to warping. You want the board to stay flat so the stones don’t wobble when you’re trying to sharpen, which can interfere with your bevel angle or cause rounding on your flat blades.
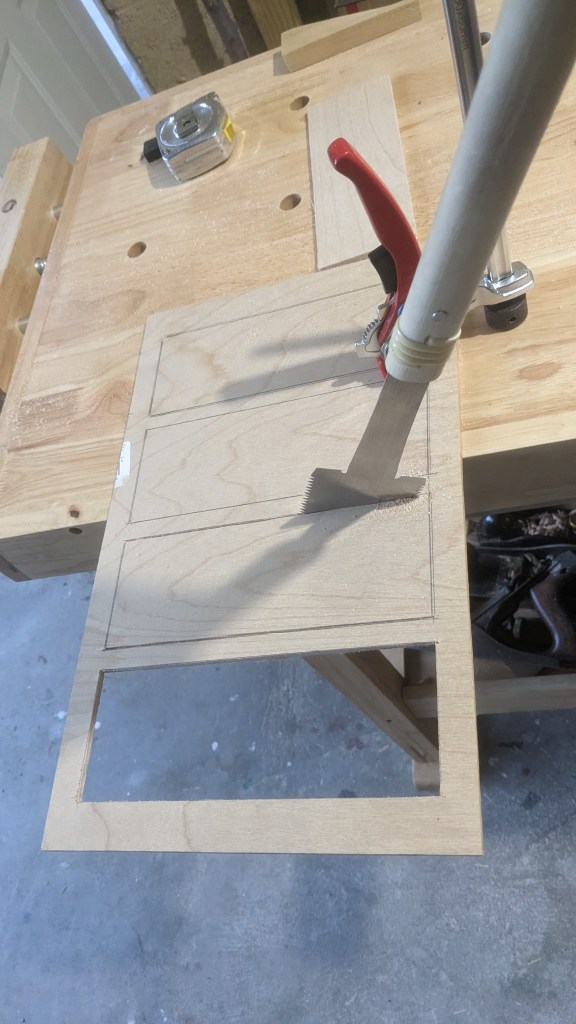
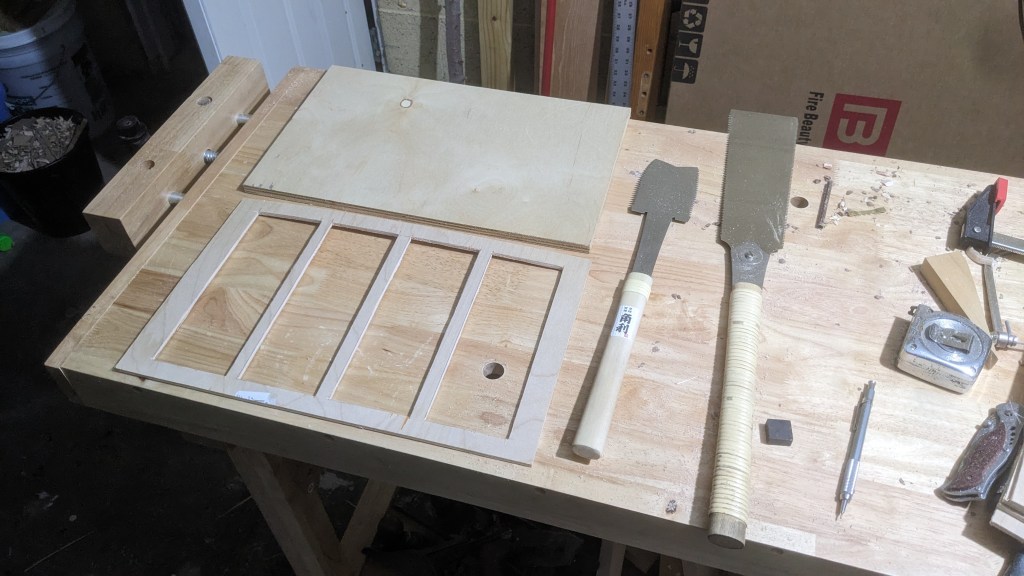
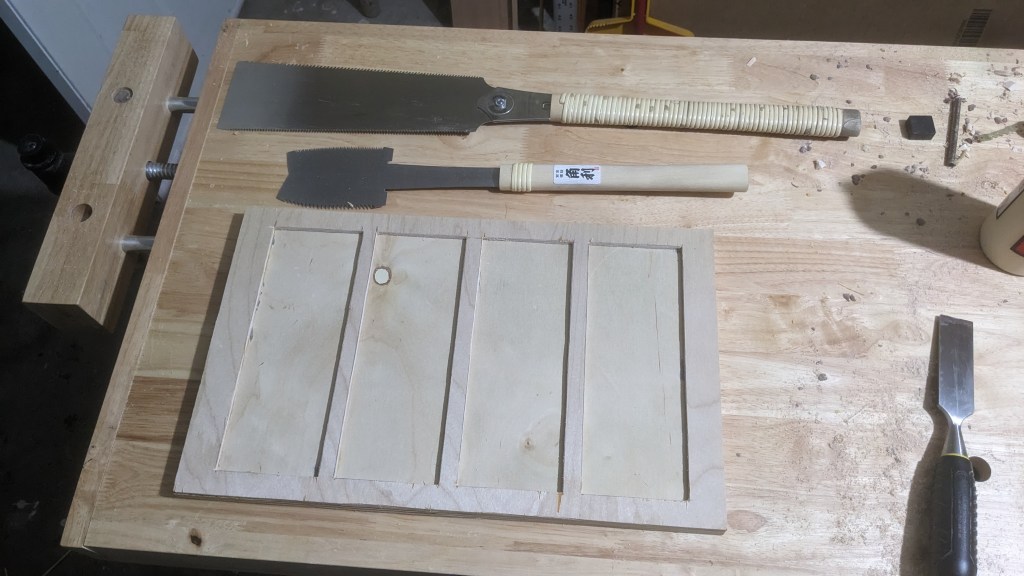
I used a 1/4″ sheet for the top panel and a 1/2″ sheet for the bottom panel.Each of my stones are about 3″ x 8″, so I drew out four 3×8 rectangles on the 1/4″ sheet, and used my azebiki saw to cut the holes out of the sheet. I then cut the back panel from a 1/2″ sheet with the same dimensions as the top panel.
Plywood is not ideal for handsaws, because the grain is glued in a crisscross pattern and there is no direction that is exclusively a rip-cut or cross-cut. If you are using a Japanese pull saw, I recommend using the cross-cut teeth regardless of the direction you are cutting, as this will reduce the amount of splintering and tear out.
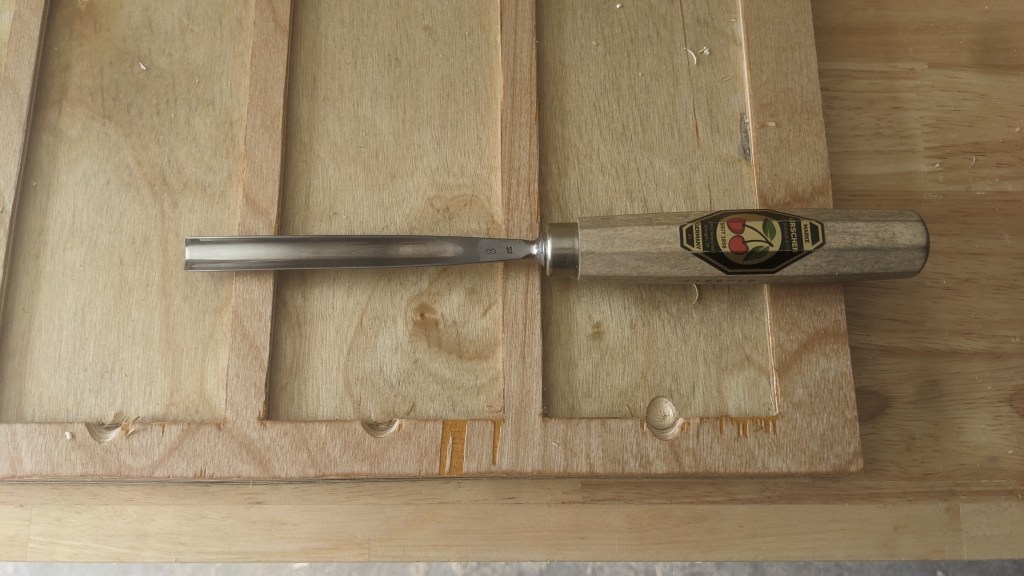
I glued the two panels together, and then used my #8x10mm gouge to carve out a finger hole at the edge of each slot. This makes it easier to remove the stones when you need to.
I finished the board with tung oil to help protect it from water, but I think this might have been unnecessary. I used the plywood I had on hand, which has an extremely thin veneer as the top layer. It flakes off pretty easily, as you can see in the photos, and the resin layer underneath probably will not absorb that much tung oil or water anyway.
Happy sharpening!
