
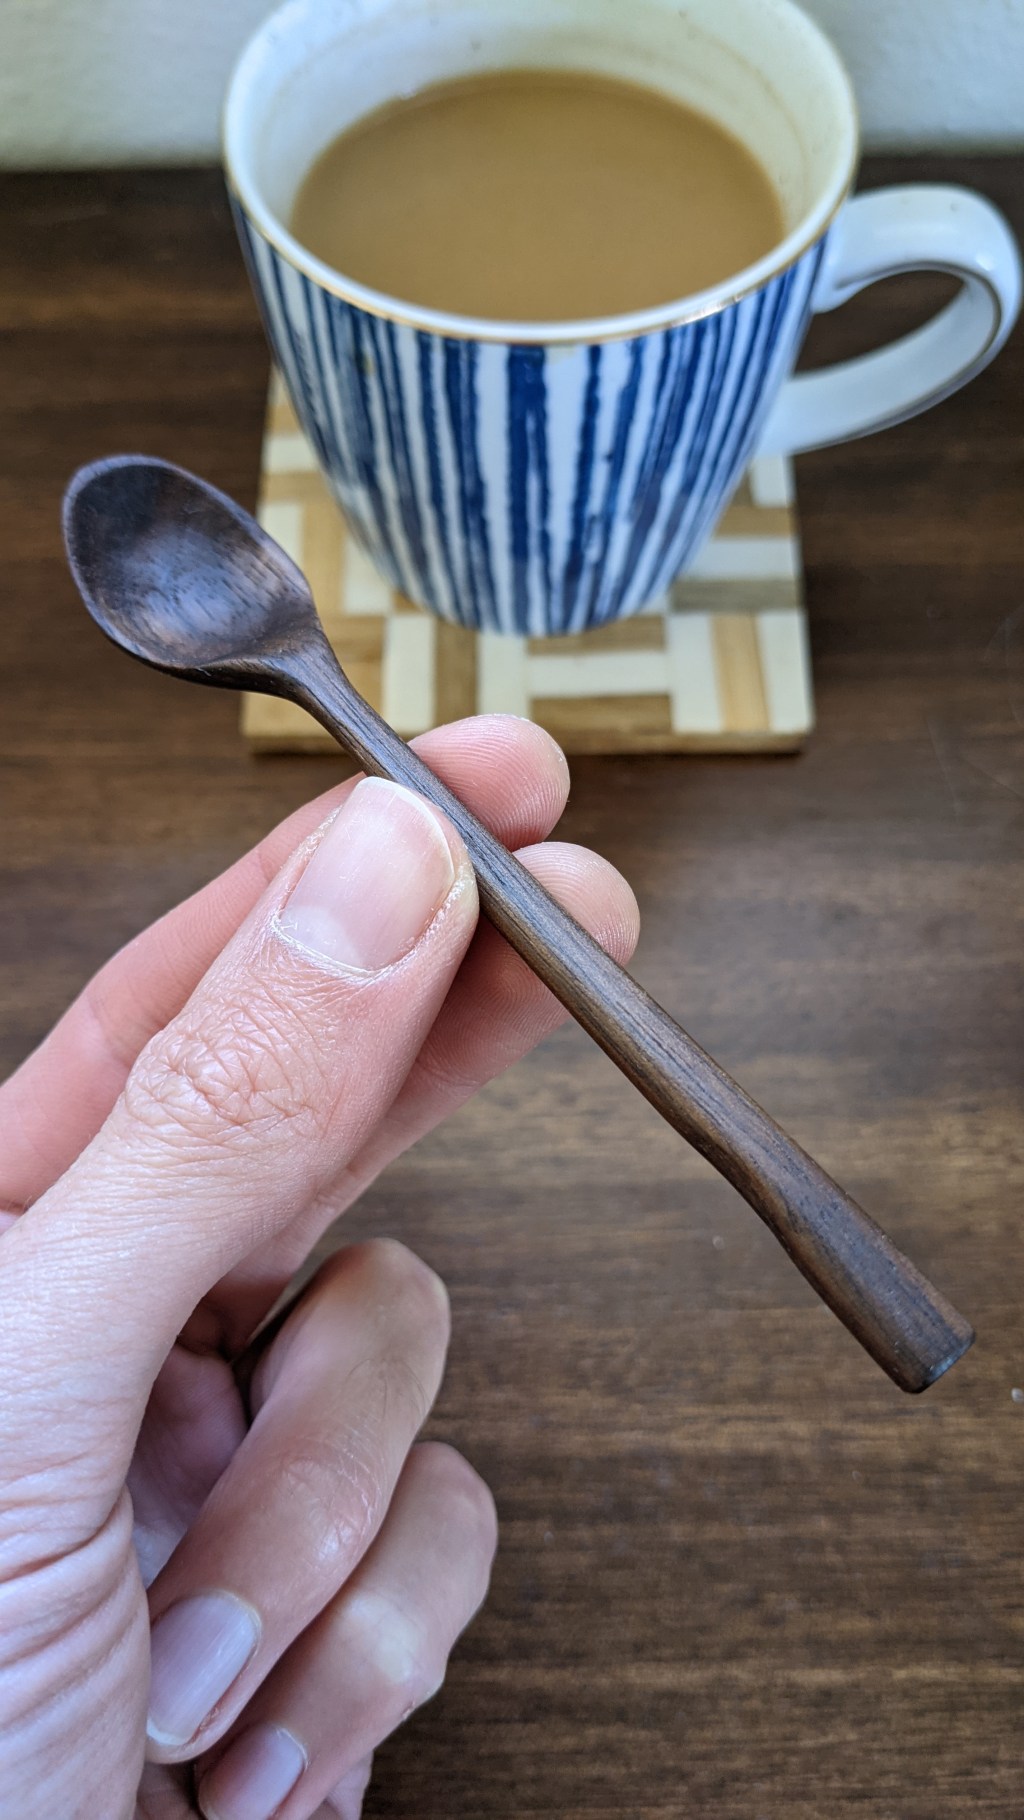
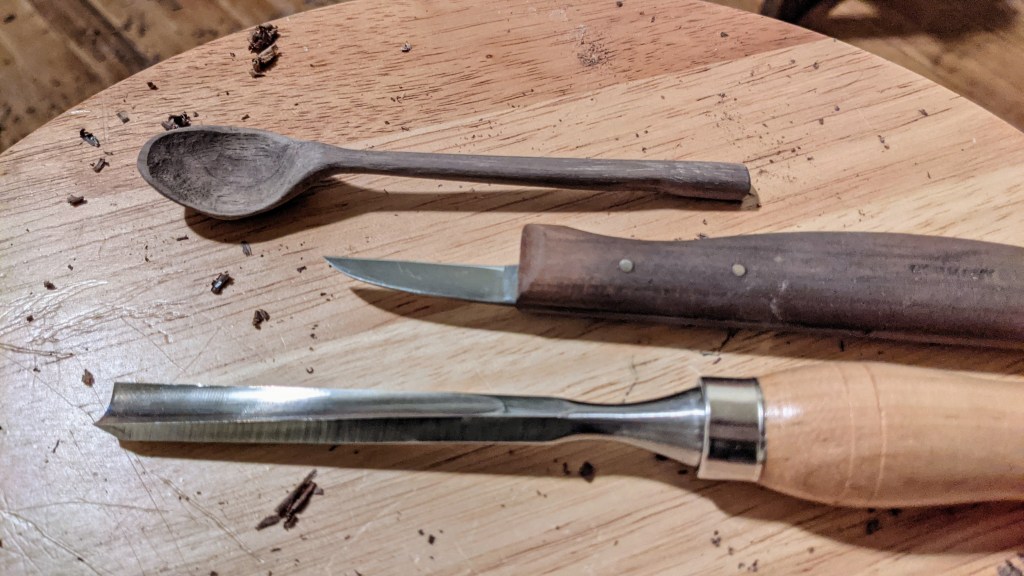
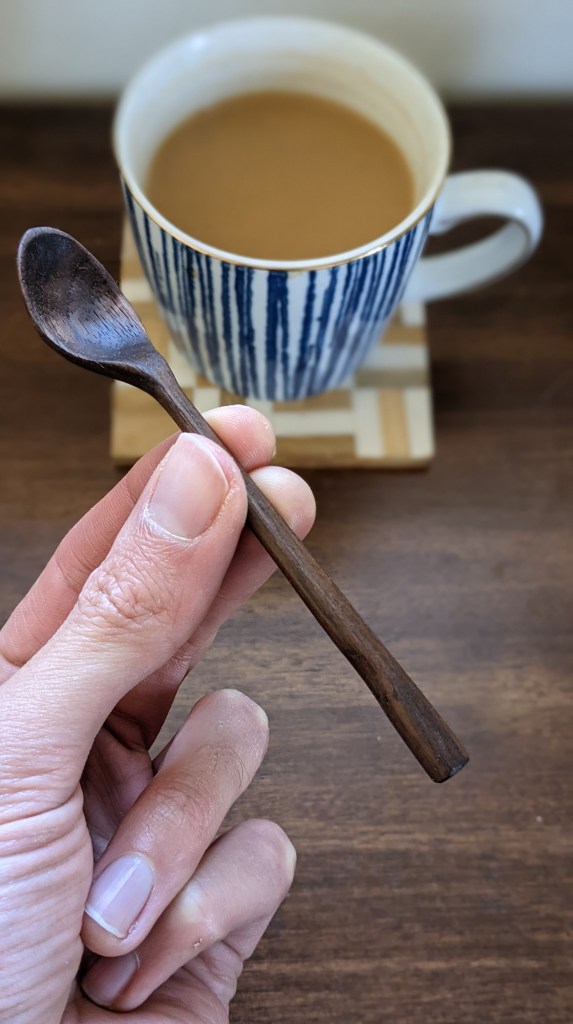
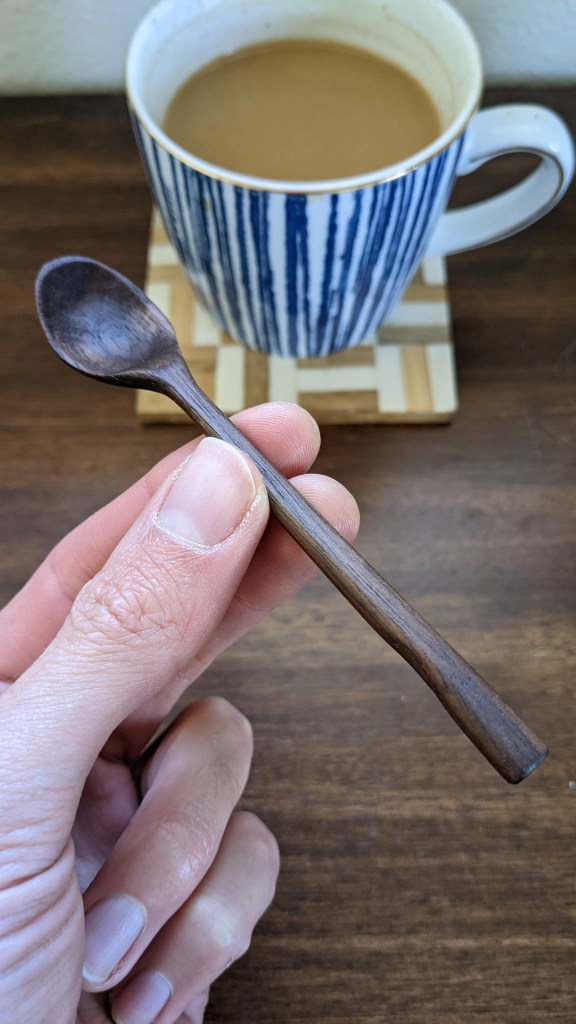
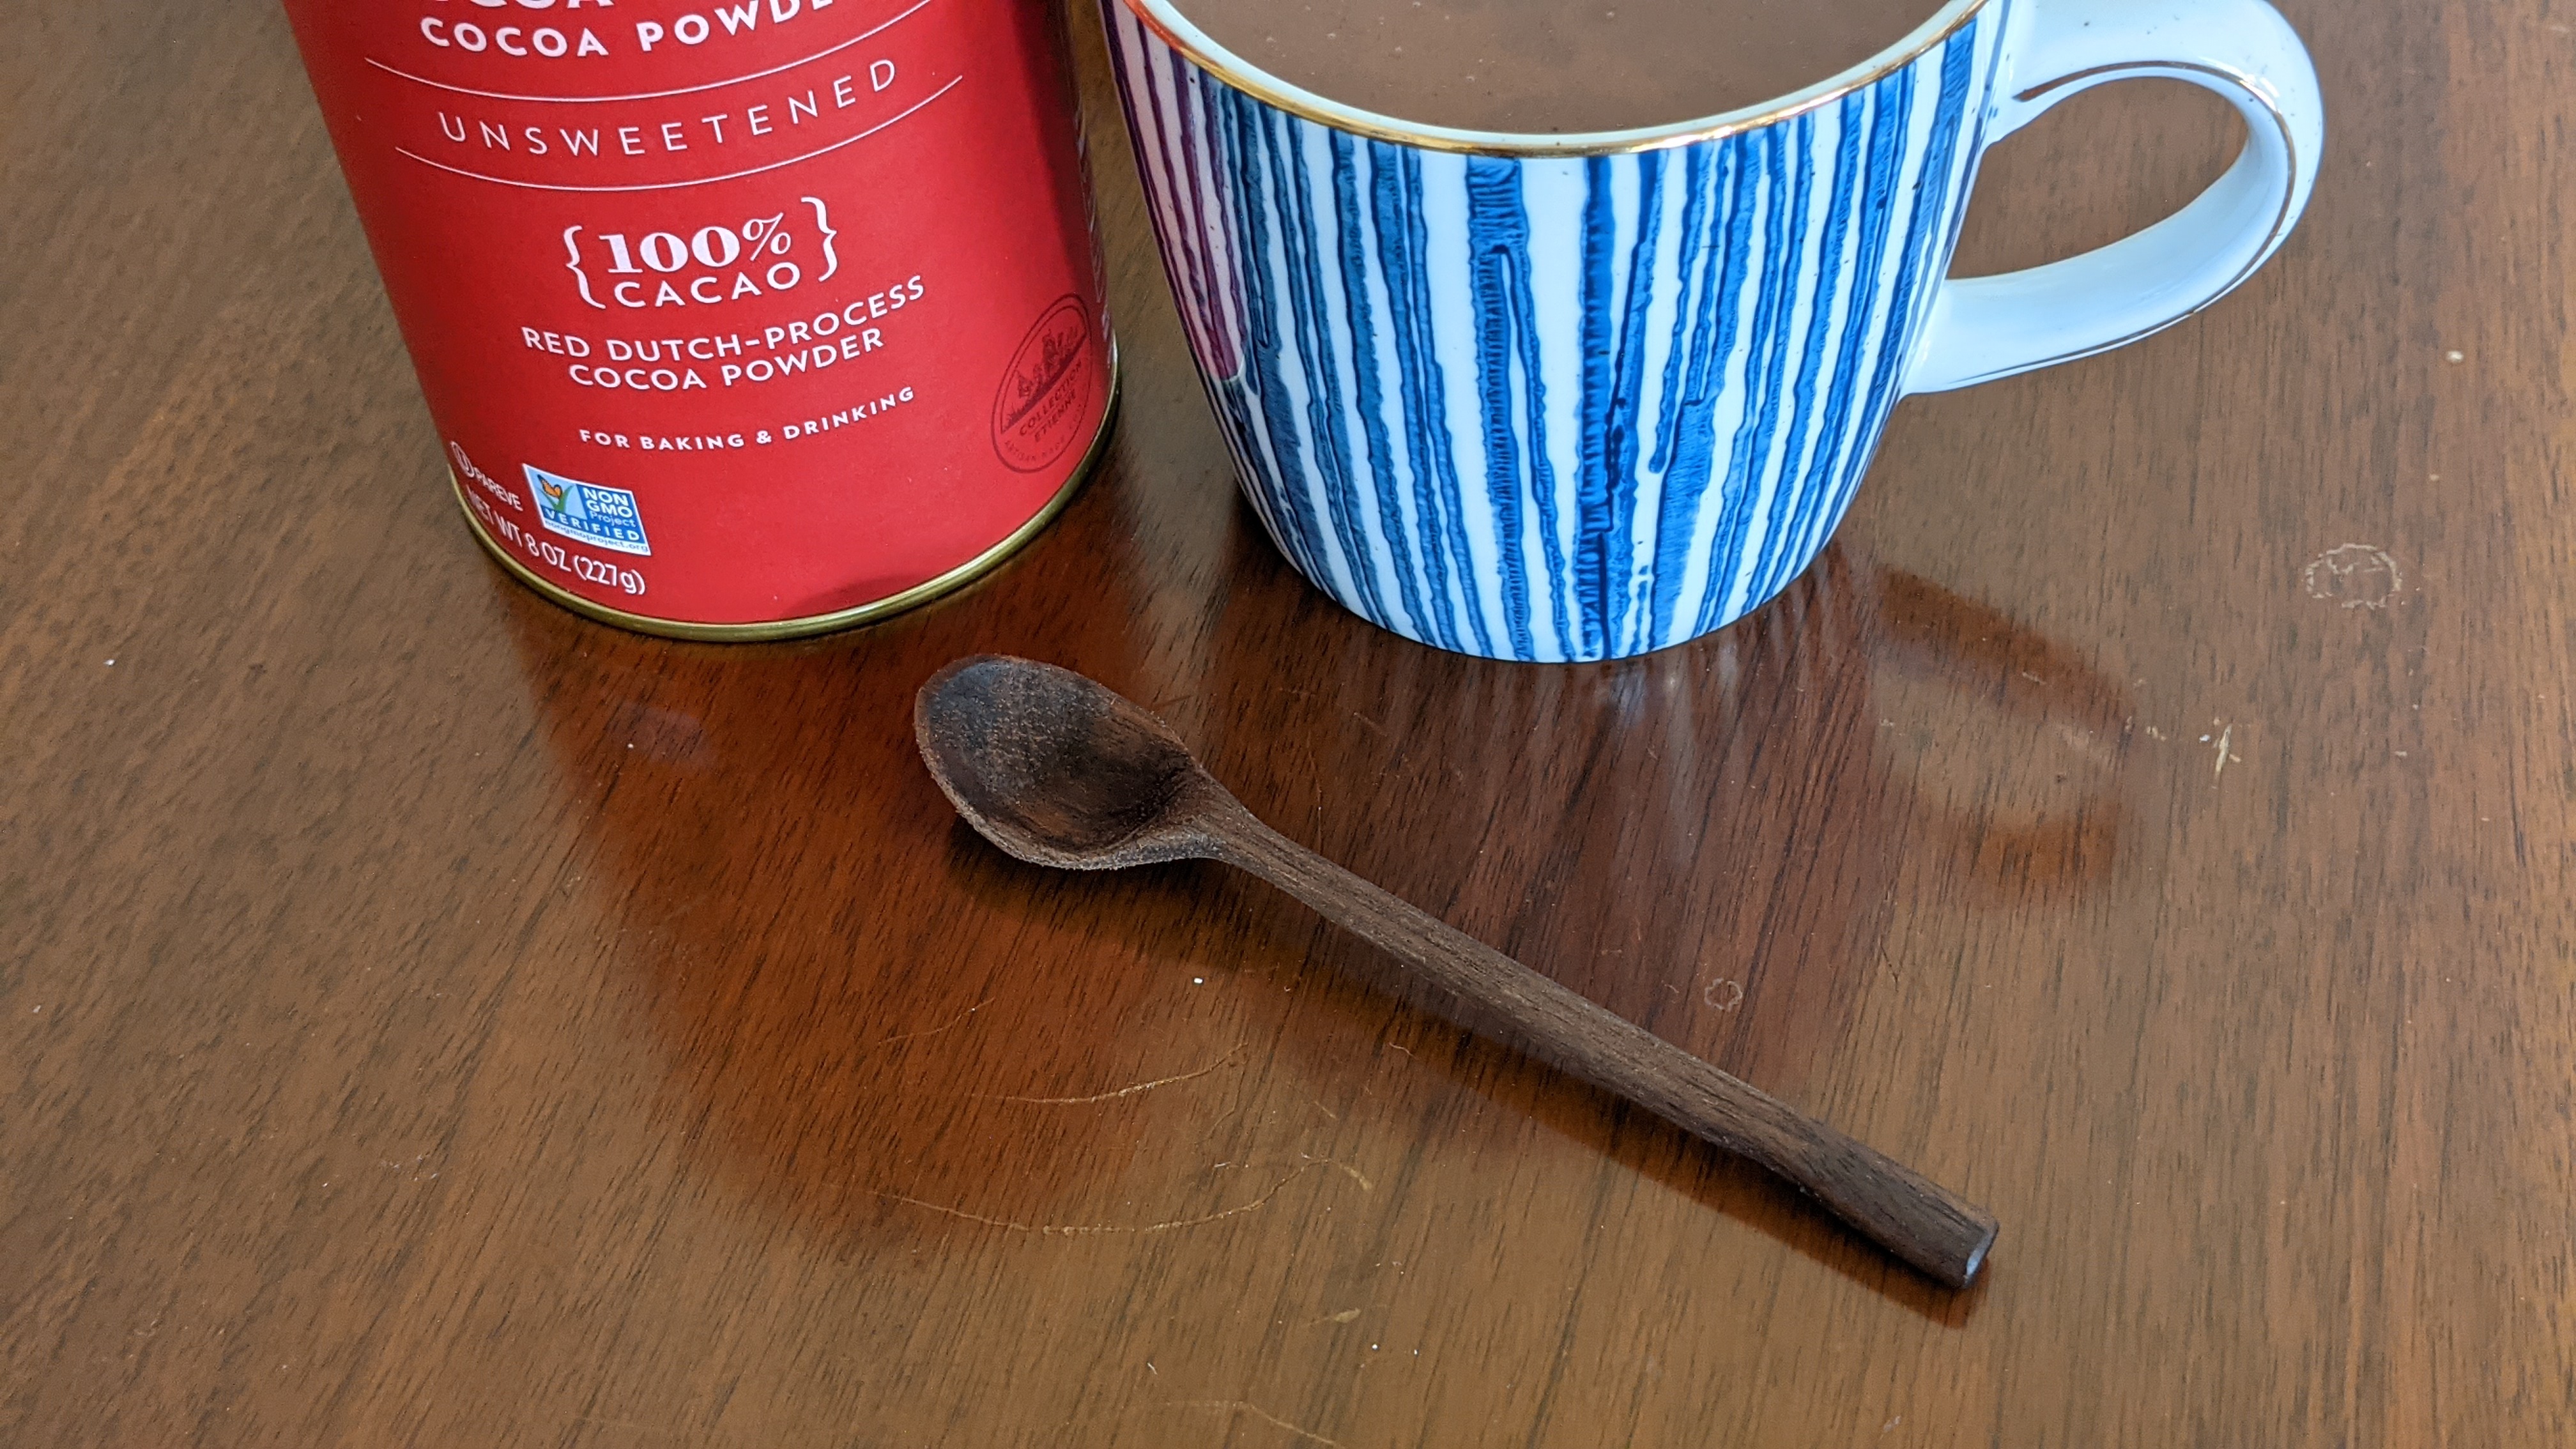
Needed something to stir my hot chocolate with.
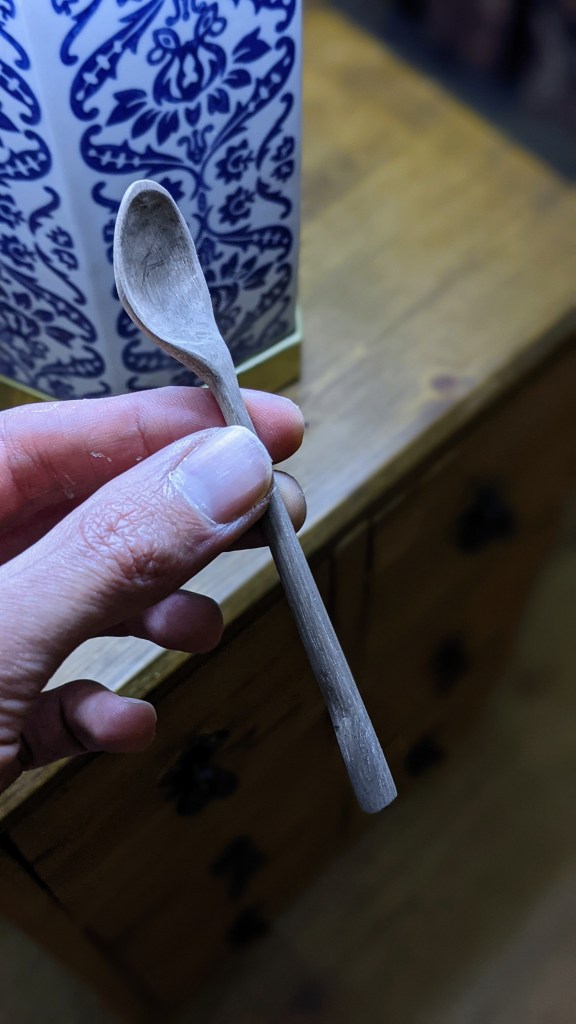
This project ended up being an important lesson for me. After carving the spoon, I sanded it smooth, oiled it, and after the oil dried I tried stirring a cup of hot chocolate with it. When I took the spoon out of the hot chocolate, every fiber was curled out, and what had been a smooth surface was now frayed in every direction. I thought all that hard work had been ruined.
What many people don’t realize is that sanding does not actually create a smoother surface than a sharp blade (unless you are sanding to ~10,000 grit, or whatever grit is equivalent to your strop compound). It may feel smoother because all of the facets from the tool marks have been removed. But where a blade slices across the fibers, sand paper will tear them. These torn fibers, when wet, will curl up and produce a frayed surface, even if you sand all the way to a super fine grit.
I’ve been disappointed by the number of cutting boards I’ve used that lost their smooth surface the first time I washed them.
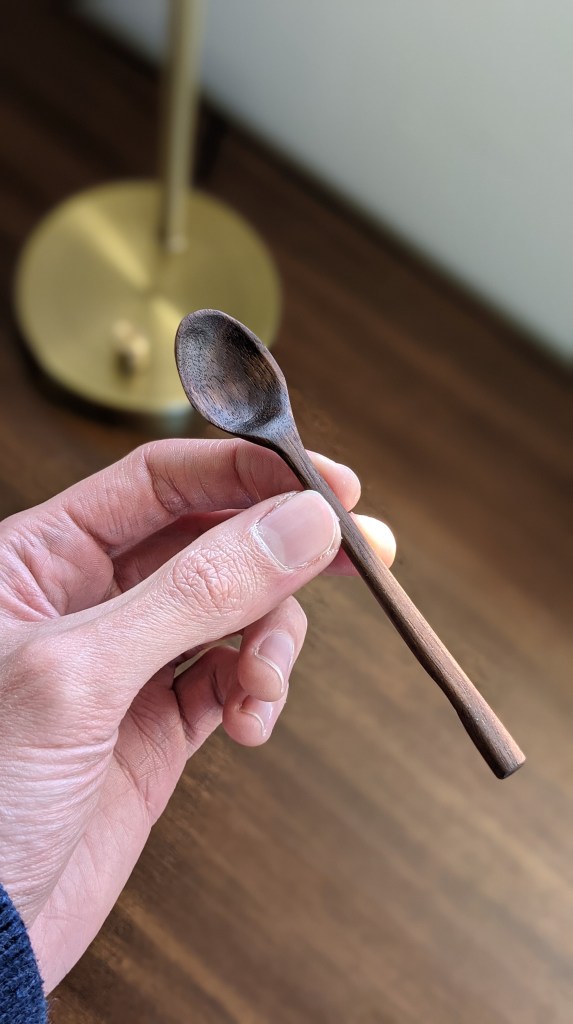
In order to properly get a smooth surface on your spoons and other kitchen utensils, either stick to smoothing the surface with a sharp blade, or use water to raise the grain while you are sanding. In the case of this spoon, I just sharpened my knife and gouge to give it a clean surface and called it a day.
When I choose to sand a spoon, I’ll start with 80 grit sandpaper to remove all of the tool marks, and work my way up through 150, 220, 400, to 600 or 1000 grit to make sure the surface is completely smooth. After sanding with each grit, I’ll run the spoon through water to raise the grain, then let it dry before moving on to the next grit. With each pass, the raised grain will be less prominent than before. Usually by the time I get to 600 or 1000 grit, wetting the spoon will stop raising the grain, and the spoon will be ready to oiled.
If you would like to schedule a lesson on spoon carving, please submit a contact form submission here:

